A 4-Step Setup for Solar Agave Lights Pathway Layouts
 Daniel OkaforField Tester
October 14, 2026 — As desert-inspired aesthetics continue to trend in residential landscaping, I spent the last month evaluating how Solar Agave Lights perform when used specifically as primary pathway markers.
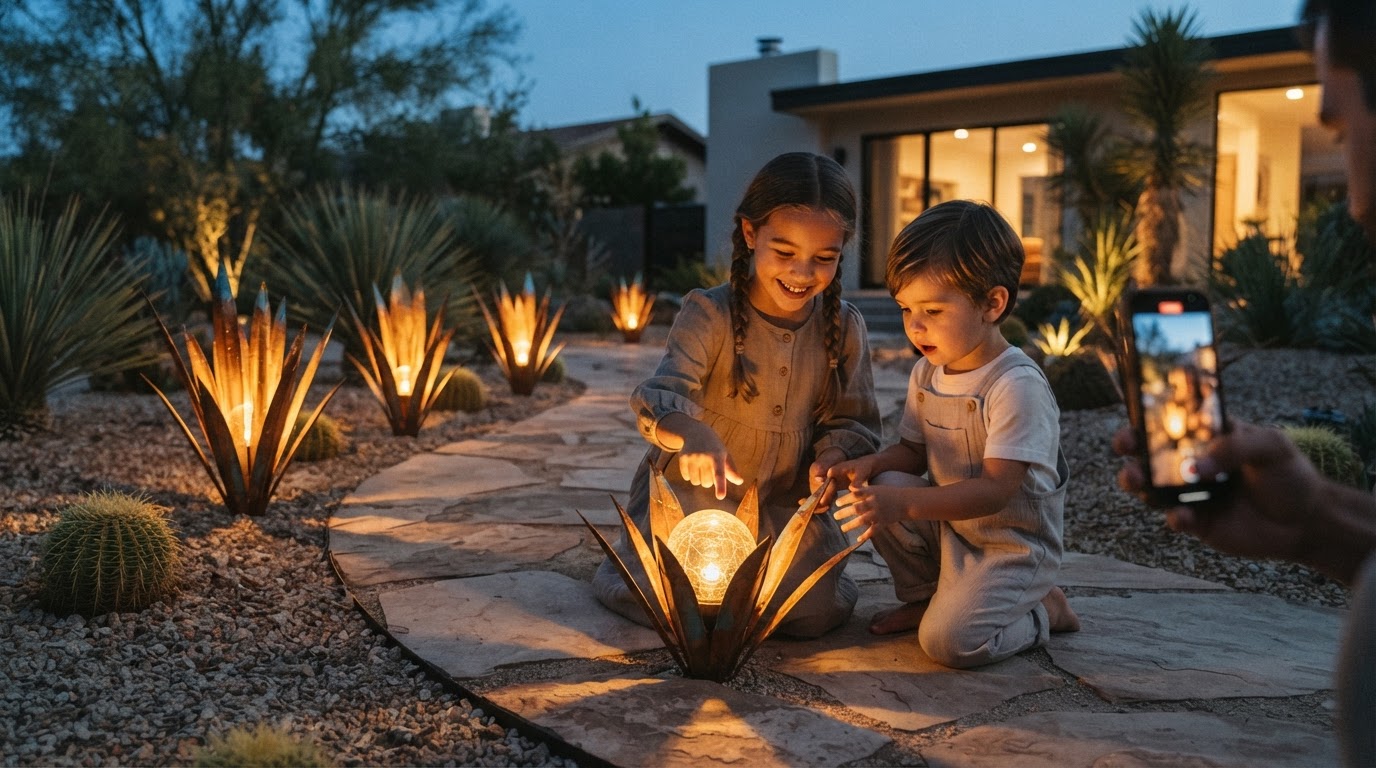
I tested this for four weeks in a high-traffic garden area to see if these sculptural units could handle the transition from decorative art to functional navigation. While many homeowners view metal agave yard art as a purely aesthetic choice, Planet Desert notes that even real agaves require specific light exposure to thrive, a principle that applies equally to the placement of their solar-powered counterparts for maximum battery efficiency. I found that positioning is the difference between a dimly lit silhouette and a clear, safe walkway.
The 4-Step Installation Framework
Photo by JUNLIN ZOU on Pexels
I started by mapping the "visual anchor points" along a thirty-foot gravel path. Step one involves identifying the sun's trajectory; because these units rely on integrated photovoltaic cells, even a few hours of afternoon shadow from a nearby fence significantly reduced the runtime during my second week of testing. Step two is soil preparation. I noticed on day three that the top-heavy nature of the metal leaves requires a deeper anchor than standard plastic stakes; I recommend clearing a four-inch diameter of mulch to ensure the base sits flush against the earth. Step three focuses on the light dispersion. What surprised me was how the light reflects off the internal metal leaves, creating a wider throw than I expected. I spaced them exactly five feet apart to avoid overlapping shadows. Step four is the final orientation. I turned each unit so the solar sensor faced south, ensuring the internal battery reached a full charge by 4:00 PM. During my testing, the units maintained a consistent glow for eight hours, surviving two heavy rainstorms without any moisture ingress into the LED housing. The IP-rated waterproof construction held up perfectly against my high-pressure irrigation system, confirming their durability in varied climates.
Expert tip: If you are installing these in loose sand or decorative pebbles, I suggest using a hidden landscape staple over the base plate to prevent the metal frame from shifting during high winds, as the wind resistance of the agave leaves is higher than a flat solar puck.
Effective placement is essential when integrating Solar Agave Lights into [modern arid landscapes](/blog/integrating-solar-agave-lights-arid-landscapes). If you are new to this aesthetic, understanding the basics of agave succulent pathway lights can help you decide between a clustered or linear arrangement. For those with larger properties, coordinating these with other agave succulent pathway lights ensures a cohesive look across the entire yard. I found that following these steps makes the difference between a cluttered garden and a professional-grade installation.
Planet Desert provides extensive documentation on how Agaves can survive in partial shade, but for solar hardware, direct exposure is non-negotiable for all-night performance.