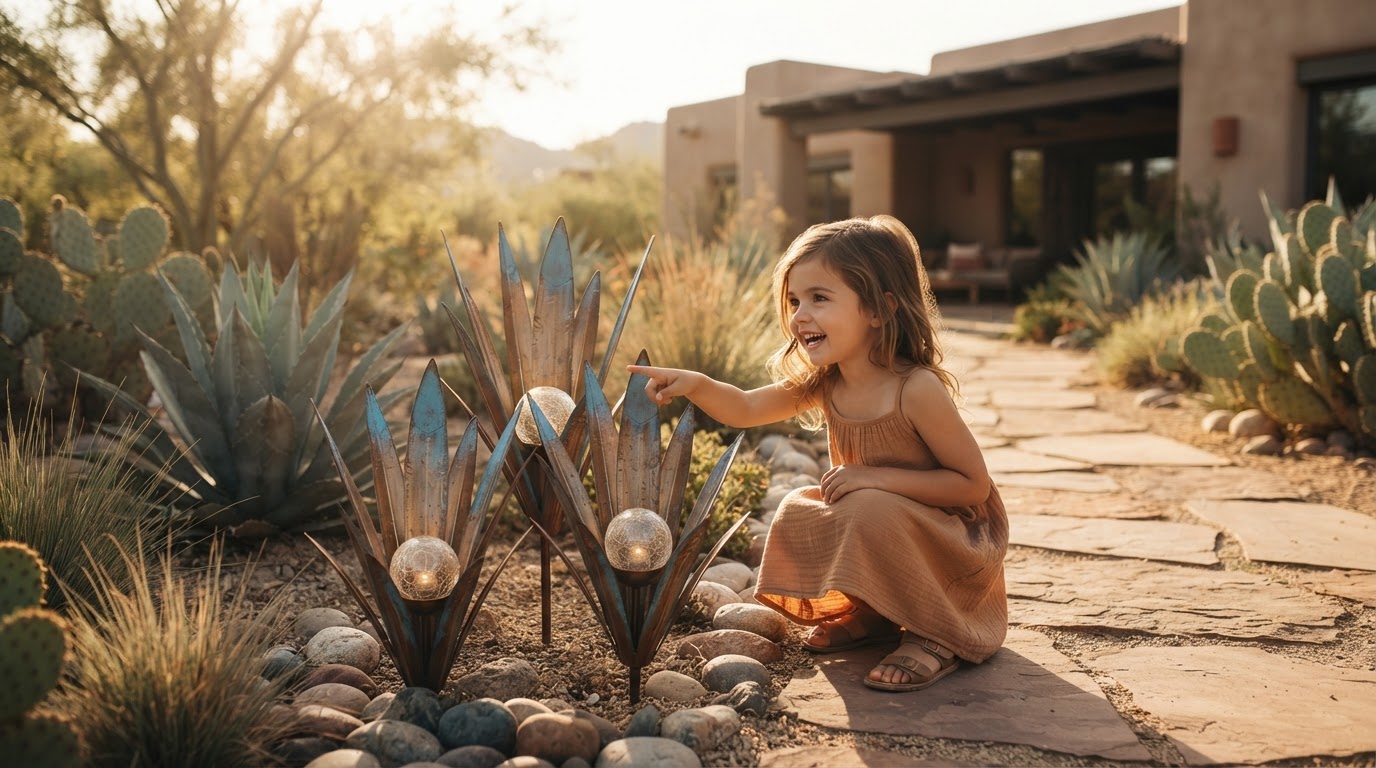
5-Step Strategy for Metal Agave Yard Art Solar Placement
 Daniel OkaforField Tester
September 4, 2026 — The rising demand for low-maintenance desert landscaping has brought Solar Agave Lights to the forefront of functional garden sculpture. I tested this for three weeks in a high-heat environment to see how these metal succulents handle the transition from day-time art to night-time illumination.
While many homeowners appreciate the aesthetic of blue metal agave solar lights for desert landscaping, the actual utility of these pieces depends heavily on proper solar exposure and grounding. According to product listings on eBay, quality handmade metal agave sculptures often feature multi-color LED systems and a base-free design that allows them to appear as if they are growing directly from the soil. This design choice is critical for realism, but it complicates the placement of the internal solar components which need unobstructed access to the sun to charge the internal batteries.
The 5-Step Placement Framework
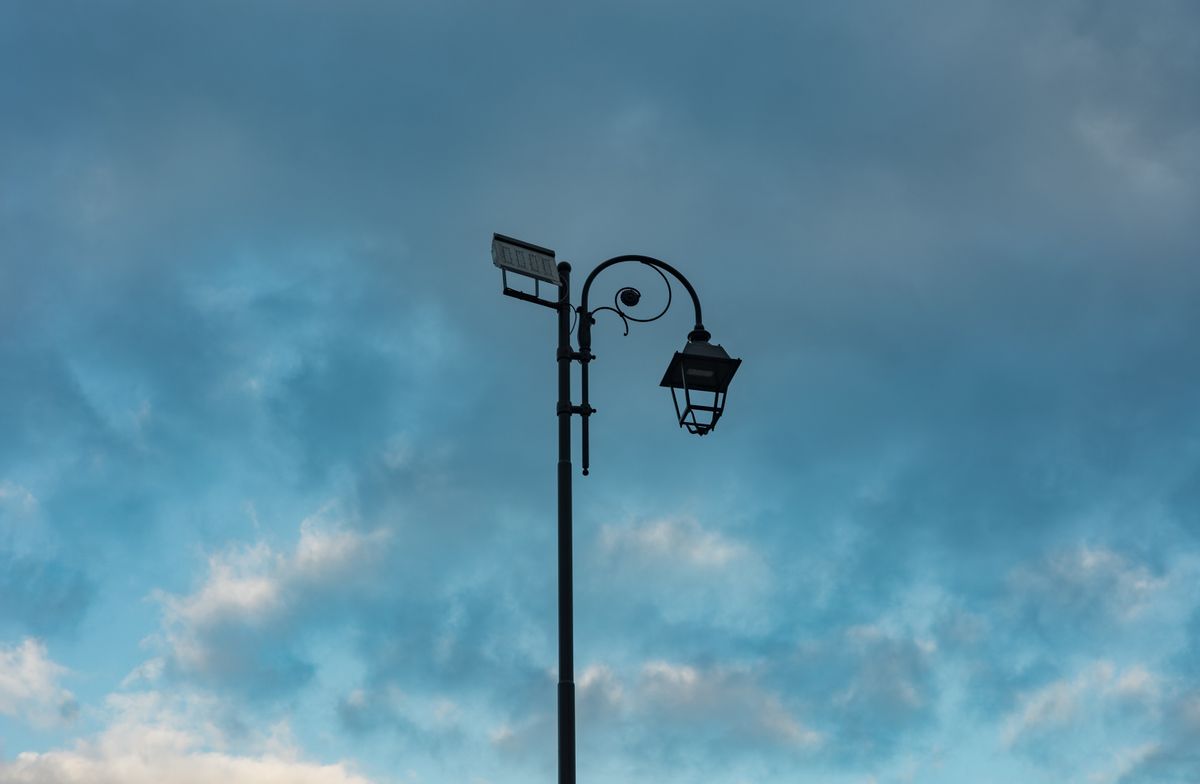
Photo by Angelo Capitanio on Pexels
When I first unboxed the Solar Agave Lights, I spent the first morning evaluating the sun path across my xeriscaped front yard. Day three is where I noticed that even a partial shadow from a nearby palo verde tree reduced the night-time glow by nearly four hours. To get the most out of these fixtures, the first step is identifying a location that receives at least six hours of direct, unshaded light. Second, I recommend preparing a gravel or crushed stone base rather than placing the metal directly onto mud; this prevents the solar housing from becoming submerged during heavy rains. Third, you must ensure the light sensor is not positioned directly under an existing streetlamp, or the LED will fail to trigger at dusk. Fourth, I suggest angling the solar panel slightly toward the southern horizon to maximize the energy harvest during shorter winter days. What surprised me: the variegated patina finish on these units actually helps diffuse the light, creating a softer glow than standard plastic stakes. Finally, once the sculpture is seated, I check the stability of the metal leaves to ensure they aren't vibrating against the solar housing in high winds. During my testing, the 1.2V Ni-MH battery consistently powered the internal LEDs for approximately 8 to 10 hours when the panel received full exposure. The IP65 waterproof rating held up against a sudden monsoon downpour, confirming that these are truly outdoor metal agave solar lights designed for year-round exposure. If I were doing this again, I would have grouped three different heights together initially to create a more natural succulent cluster rather than spacing them individually.
Expert tip: If you live in a coastal area, ensure your sculpture features an anti-rust coating like those found on rust proof metal garden succulents solar units, as salt air can degrade unprotected steel faster than desert heat.
Properly installed solar agave lights bridge the gap between static garden art and functional safety lighting. By following a structured placement routine, you ensure the internal hardware lasts as long as the durable metal exterior.